The task I set out for myself is to create a model of my choosing and modeling it to improve my skills and to learn new skills.
I started off by researching the blaster pistol and looking at different perspective views and saving the images to refer to. Once I had all the research I need I got Maya started up and changed perspective view to import an image that I will guide me throughout the production of my model.
By getting the main shape using a cylinder for the barrel and scope extruding inwards to create the iconic nuzzle and scope for the blaster. Once I was happy with the main barrel and how it looked in different perspective views, I created the handle and base of the pistol were the scope connects to the barrel by using a cube, then extruding and moving the cube to get the main shape. Furthermore, I used the multi-cut tool to add in lines to curve them to make the handle as close as possible to the original blaster. However, the handle looked too spongy and curved so I deleted the handle, then remolded it to have a sharper and flat appearance.
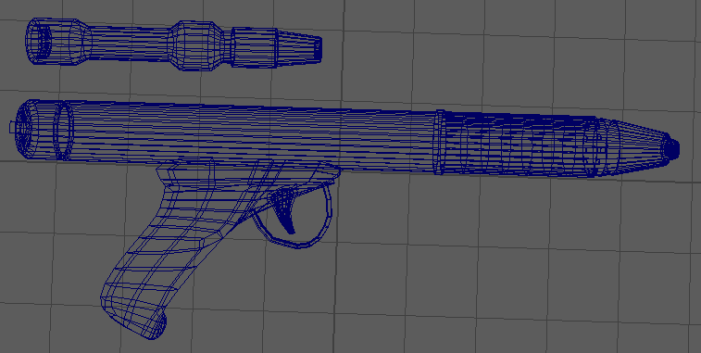
When I had finally finished the main structures of this blaster pistol I started to add in the small details in like screws, indentations, switches and buttons using the basic shapes; using the soft select to curve objects, target weld to merge to gather unwanted vertexes and edges.
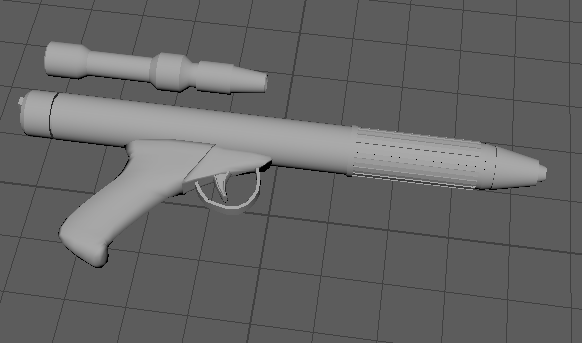
Once I was with the completion of the model I then started to UV unwrap the model. However this did not go to plan because the UVs are in such a state that it will take weeks and months to sort out, so I had to resort with a backup plan. The plan was to select the faces that’s going to be a type of material for example dark metal in dark gray, light metal in light grey and plastic shaded in black.
Here is my final result:
